1.新建虚拟机
打开VirtualBox > 新建

编辑名称、类型、版本,单击下一步
注释:因为Centos其实是RedHat的克隆版,所以版本类型选择RedHat(64-bit),两者的关系可参考文章:http://www.linuxidc.com/Linux/2011-07/39098.htm
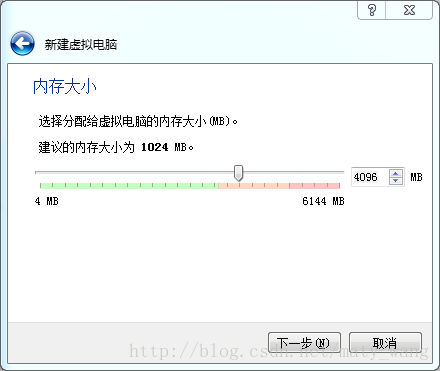
依据自身电脑的实际情况配置,点击下一步

点击创建

注释:在选择磁盘文件类型的时候主要考虑该Centos 7是否要被其他虚拟化软件(如vmware)使用
VDI:被VirtualBox使用
VHD:被Microsoft Virtual PC使用
VMDK:被Vmware使用
具体细节文章参考:https://vimsky.com/article/3578.html
这里选择VDI类型,点击下一步

动态分配和固定大小请参照解释,这里选择动态分配,点击下一步
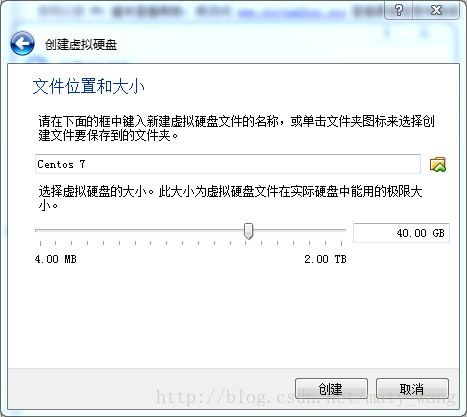
设置该磁盘的最大值,之所以有最大值是因为我们选择的是动态调整磁盘的大小(可点击大小输入框,直接输入数字,免去滑动杆灵敏度太高,不方便调整的缺点)
点击创建,完成虚拟机的建立
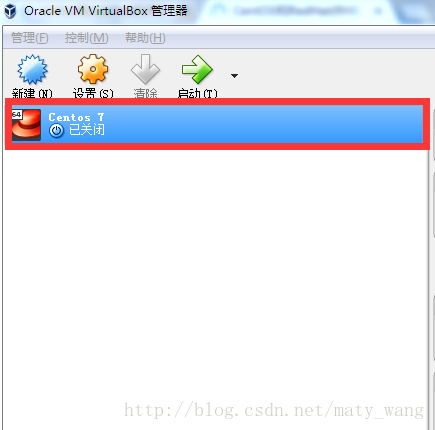
2.将CentOS-7-x86_64-DVD-1611.iso与该虚拟机做关联
Centos7下载地址:https://www.centos.org/download/,选择合适的版本下载,本例选择的版本为:CentOS-7-x86_64-DVD-1611.iso,这里直接选择下载来下的压缩包无需解压。
点击设置>>存储

找到CentOS-7-x86_64-DVD-1611.iso所在的位置,然后点击OK
系统>>主板,设置启动顺序,将光驱启动设置为第一项
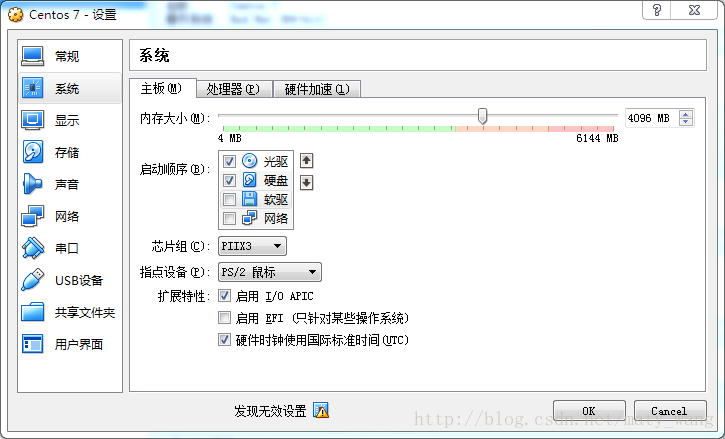
然后点击OK
3.开始安装Centos7到虚拟磁盘中
点击启动,开始安装过程

选择Install Centos Linux 7

安装界面选择中文简体(这里只是设置安装界面的语系,和系统跑起来使用的语系不是一回事)
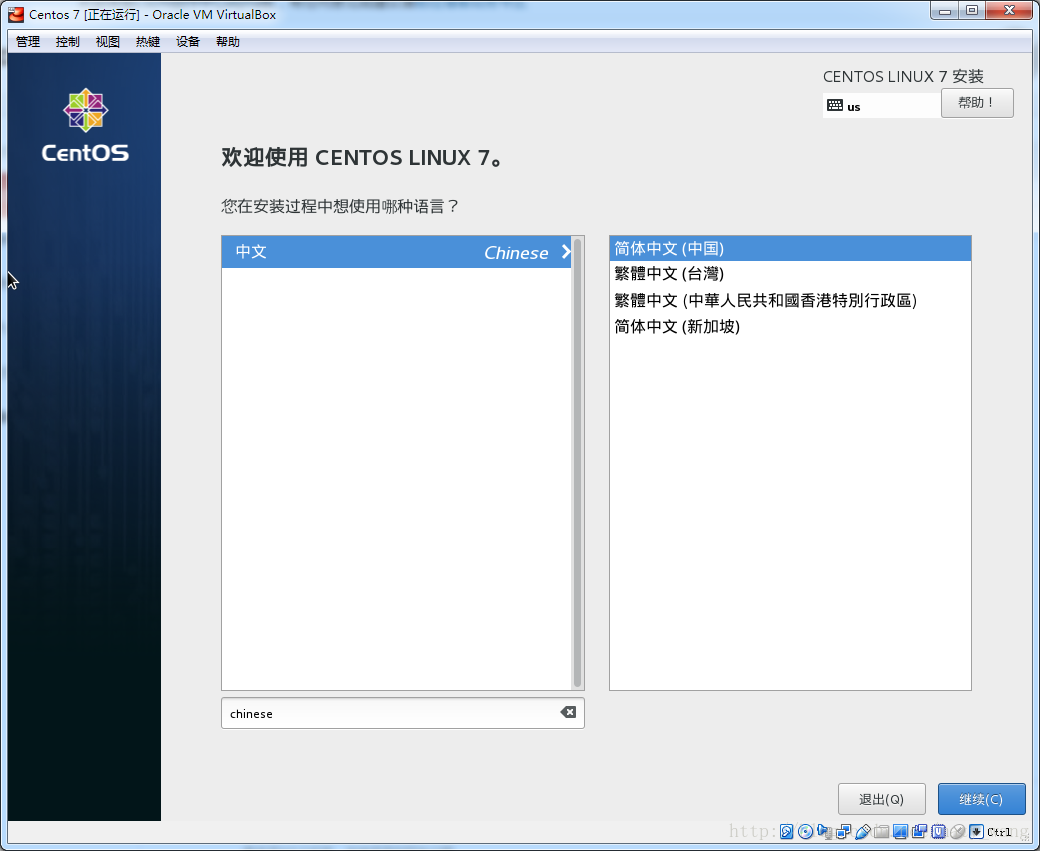
点击继续
选择安装位置,此处安装到VirtualBox刚才建立的虚拟磁盘,如果要安装到U盘中,此处的磁盘请选择U盘盘符

注意Centos 7默认为最小化安装,即默认不安装图形界面,如果需要使用图形界面,请选择《软件选择》,来进行其他功能的安装
全部设置妥当之后点击开始安装

可创建root密码和普通用户
等到系统提示重启,系统重启之后可进入linux commond line模式,系统安装成功

 English
 中文
中文 